

A common way to learn a new framework or programming language is to build a simple todo list. In this tutorial, we will learn how to build an end-to-end todo list dapp, starting from the smart contract side through the front-end side and finally use of a wallet to interact with the two.
See the completed code in the source-code.
Prerequisites
Section titled “Prerequisites”You must have:
Although we will explain some React decisions, we are not going to deep dive into how React works; so we assume you have some previous experience with React.
In this section, we will setup three things:
- API key using Geomi
- Project using create-aptos-dapp which will hold our project files, both client-side code (React based) and the Move code (our smart contract)
- Move On Aptos VSCode extension
Setup API key
Section titled “Setup API key”First let's create an API key using Geomi. The Aptos TypeScript SDK uses Geomi API by default, and without an API key, you will get very low rate limits.
-
Visit Geomi: Go to geomi.dev in your web browser.
-
Sign up or Log in: Create a new account or log in to your existing Geomi account.
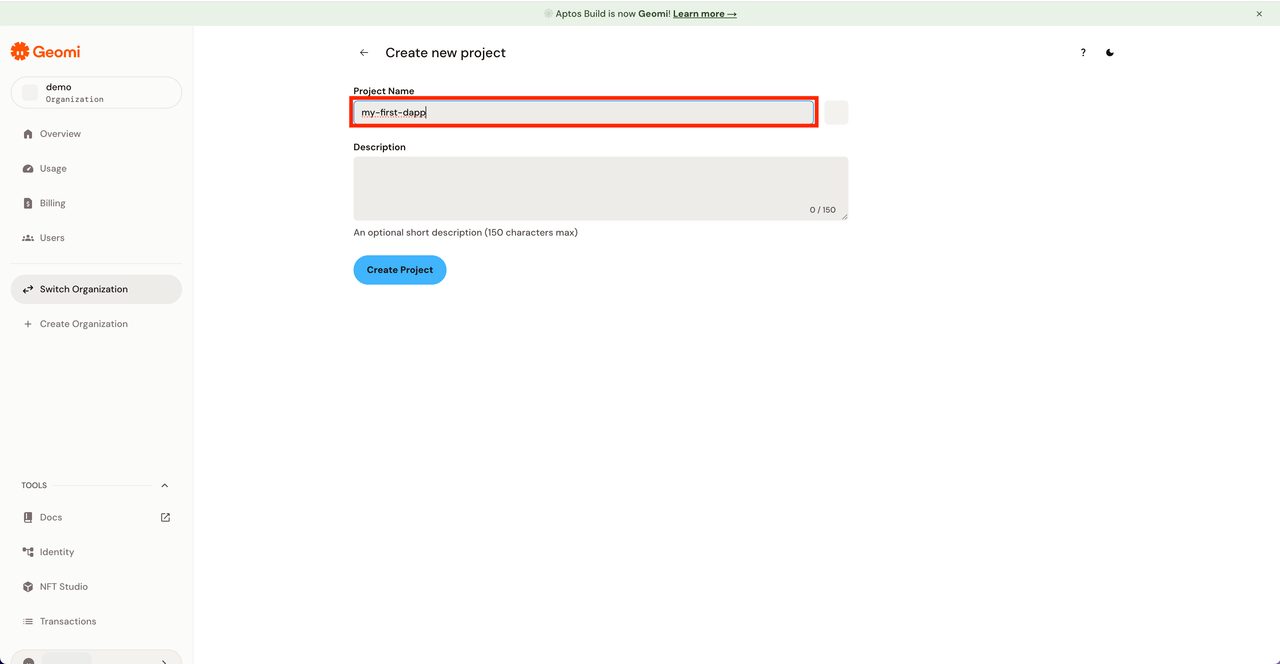
-
Create a new project: Click on "Create New Project" to create a new project and name it
my-first-dapp.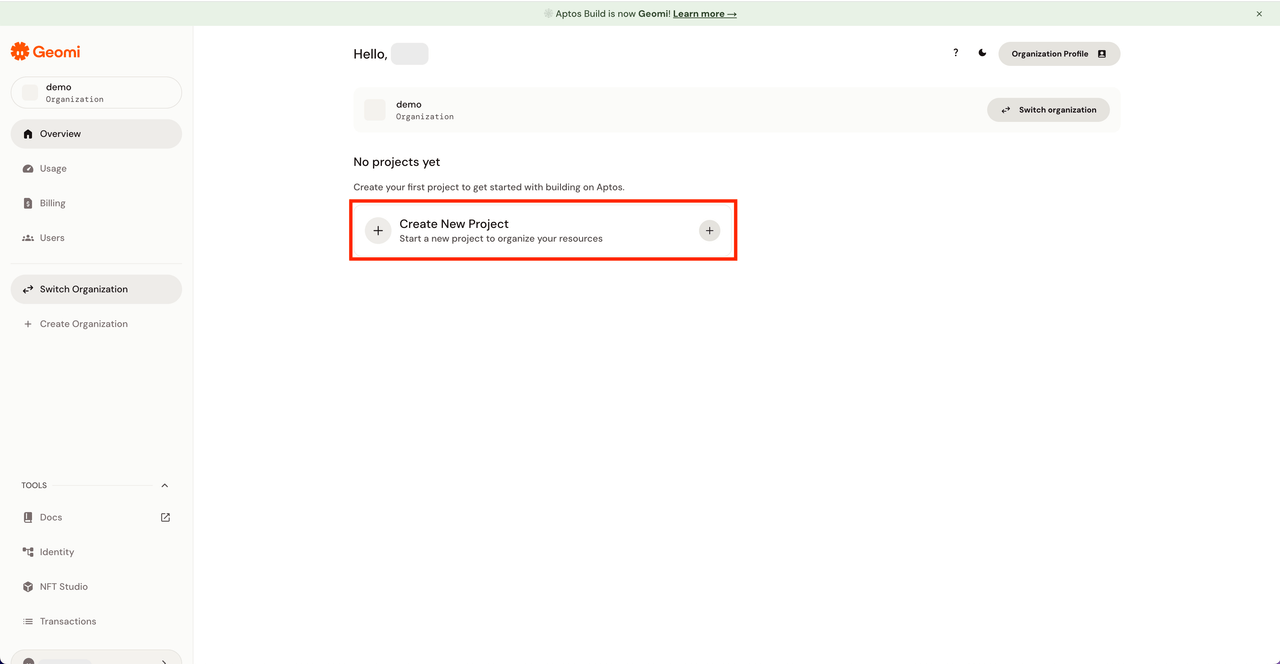
-
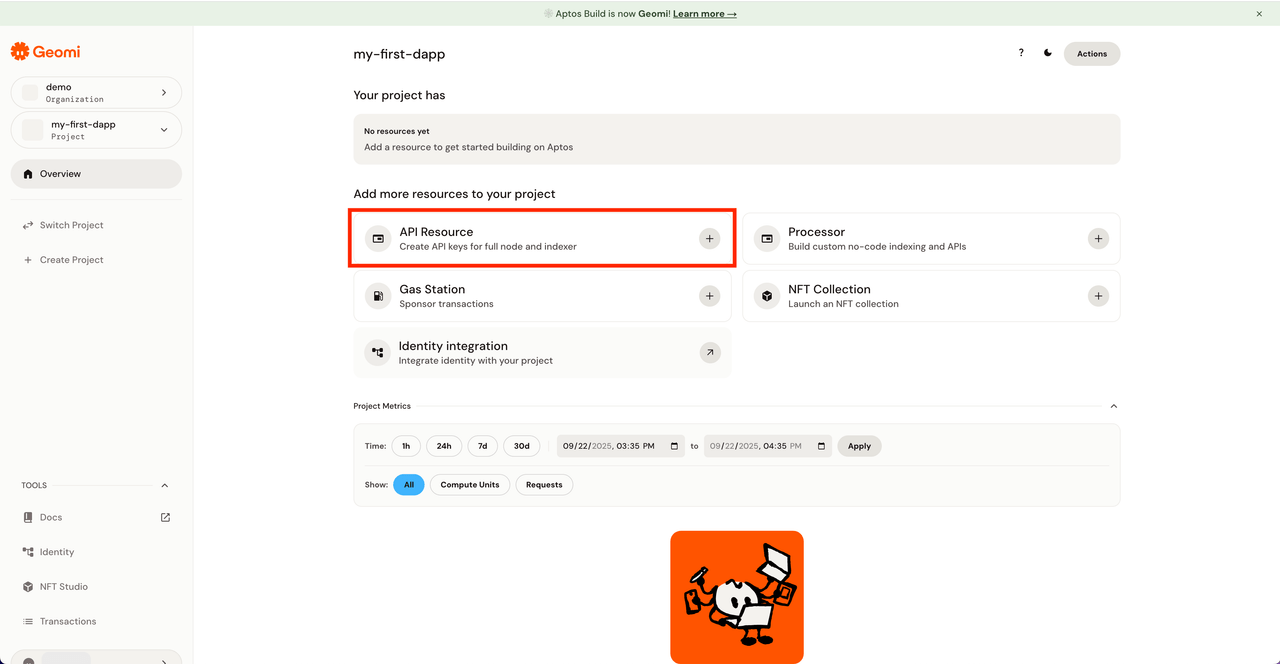
Navigate to API Resource tab: Navigate to the API Resource tab in your dashboard.
-
Create New API Resource: Name it
my-first-dapp-apiand set the network toDevnet.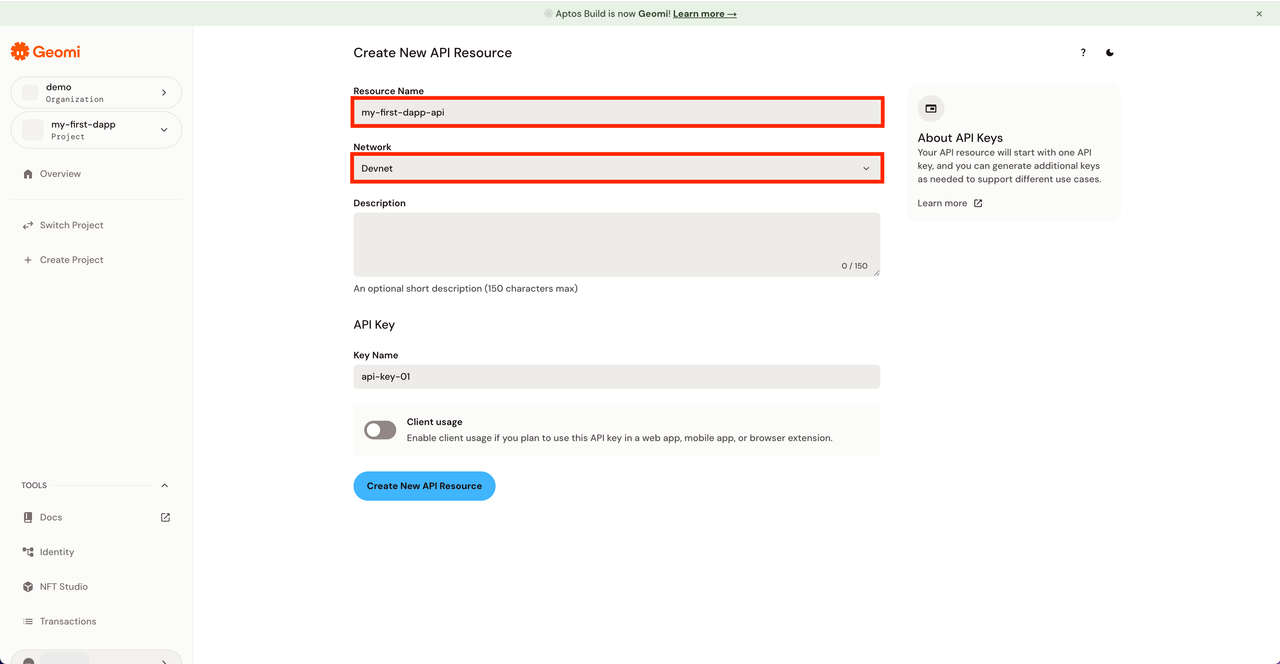
-
Configure API Key: Since we will be using the API key in our web app, toggle on
Client usage. Here you can configure allowed URLs and extension IDs that can use the API key. SetAllowed URLstohttp://localhost, which is the development server we will be using. Also setPer IP rate limitto100,000.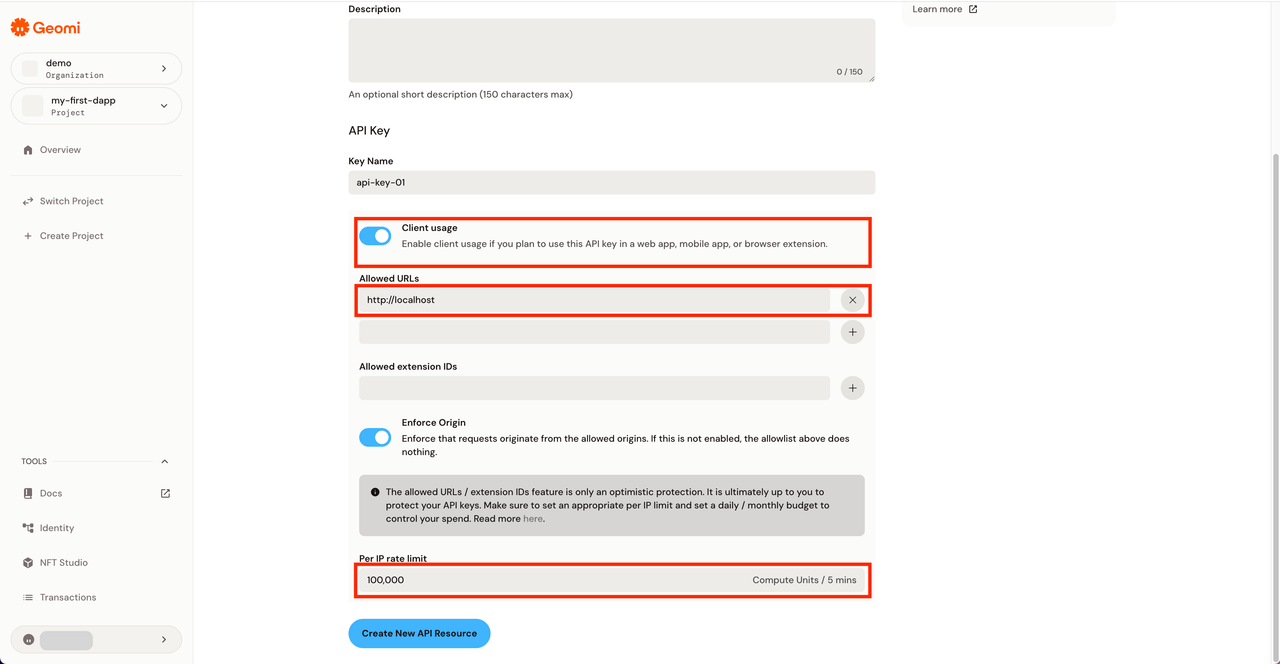
-
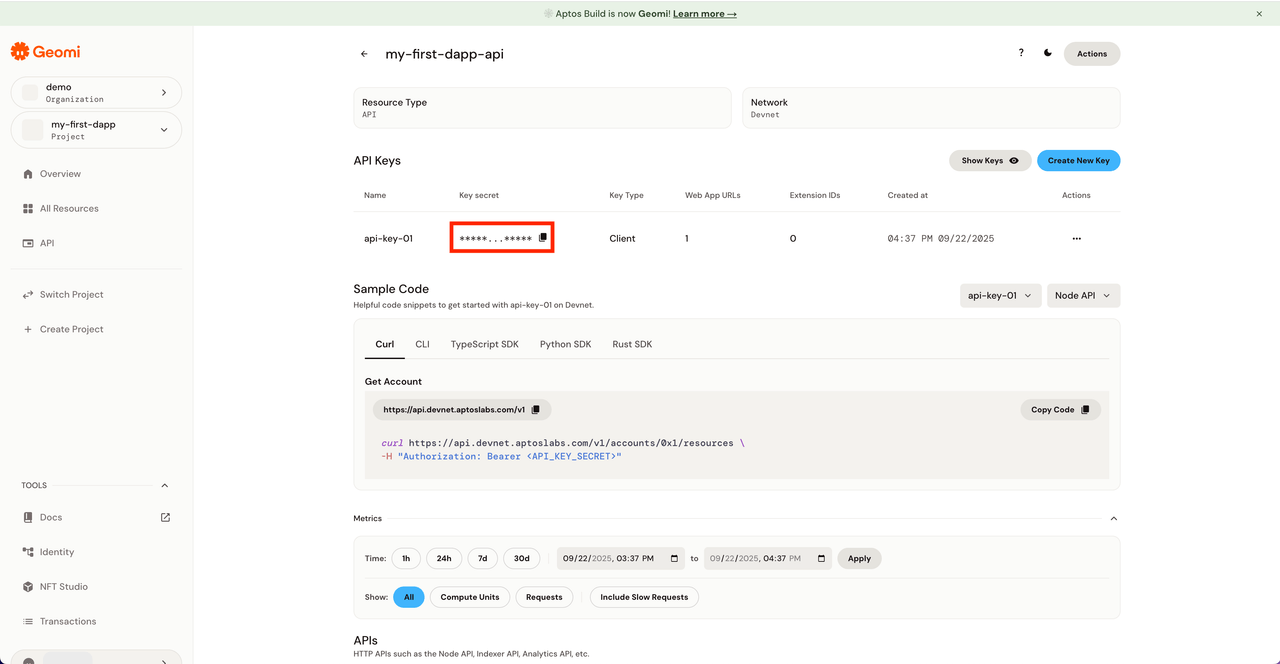
Copy and Save: Now you have your API key. Copy the key as we will be using it in the next step.
Setup Project with create-aptos-dapp
Section titled “Setup Project with create-aptos-dapp”Next, we will be using create-aptos-dapp to create the project.
-
Open a terminal and navigate to the desired directory for the project (for example, the
Desktopdirectory). -
Run the create-aptos-dapp command to create the project:
Terminal window npx create-aptos-dapp@latest -
Follow the instructions to create the project with these settings:
- Choose a name for the project, for example
my-first-dapp - Choose the
Full-stack projectoption - Choose the
Boilerplate Templateoption - For simplicity, choose not to use Surf
- Choose the
Vite appframework option - Choose the
Devnetnetwork option - Say
Yesfor using API key and paste the Geomi API key you copied earlier - Say
Nofor customizing default selections
- Choose a name for the project, for example
-
The tool will create the project in a directory with the same name as the project and install the required dependencies.
-
Follow the
Next Stepsinstructions.
Setup Move On Aptos VSCode extension
Section titled “Setup Move On Aptos VSCode extension”Finally, let's install the Move On Aptos VSCode extension.
- Open VSCode (or Cursor) and navigate to the Extensions tab.
- Search for
Move On Aptospublished byaptoslabsand install the extension.
Chapters
Section titled “Chapters”After meeting the prerequisites and getting set up as described below, you will follow this tutorial in this order:
Now let's create the Todo List smart contract.